|
A Look Behind the Curtain
The components that make Jersey Jack Pinball�s The Wizard of Oz a game designed like no other!
Posted by Daniel Tonks on July 24, 2013 at 8:14 AM
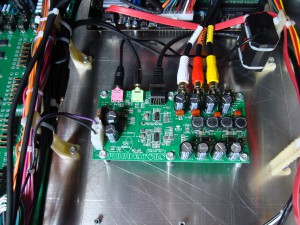
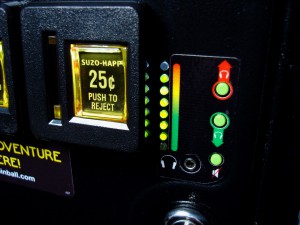
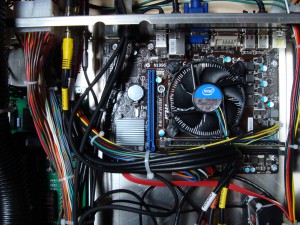
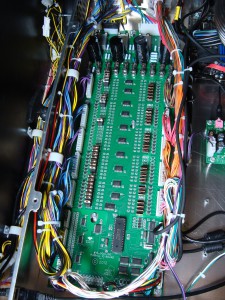
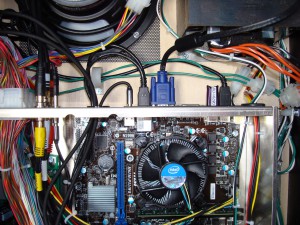
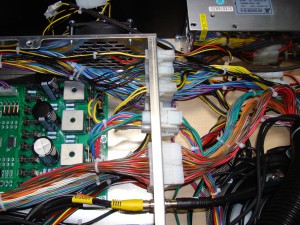
Just up from the audio power supply and SSD is the audio preamp/Class D amplifier board, designed by Pinnovators specifically for JJP. Stereo sound comes in from the motherboard on a 3.5mm headphone jack cable (the pink connector on the left). The yellow jack feeds to a 3.5mm stereo output located on the back of the game (see my last posting), which can be used to hook up an external subwoofer for more bass, or optionally pump all game audio through a much larger sound system. The RJ45 jack in the middle leads to the separately amplified headphone jack and volume buttons mounted on the outside of the coin door. The two tiny volume buttons specifically adjust the headphone audio level, while the mute button can cut off all sound including the game�s primary speakers. Speaking of speakers, there are three of them comprising an impressive seven drivers: one 8" woofer, four 2.5" midrange drivers, and two 1" tweeters. These speakers hook up to the matching RCA jacks on the right side of the audio board, and eagle-eyed readers will spot an unused position labelled �Cabinet Speaker Spare� � which is described as for future expandability, but I�m guessing could be used for yet another woofer right now (if you can find someplace to put it). If you�d like to be able to adjust the game�s main volume without opening the coin door, an optional kit with two buttons can be bought from Pinnovators that mounts in the bill slot on the coin door. Additionally, if the game is to be placed on location, the cabinet speaker mute button can be disabled via a switch inside the coin door. It�s no secret that JJP chose to use standardized PC hardware to power The Wizard of Oz, and in the back right of the electronics cage you�ll find the game�s motherboard: an MSI H61M-P31/W8, based on the Intel H61 chipset. (Incidentally, this is a major upgrade from the original Atom Mini-ITX board used in early prototypes.) The mATX board comes populated with an Intel Celeron G530 2.4GHz dual-core processor and 4 gigabytes of Crucial 1333MHz DDR3 RAM, with video provided courtesy of Intel HD graphics integrated into the CPU. Other notable specs of the MSI board include gigabit LAN, 6 USB ports, UEFI compliance, and solid capacitors. The entire left side of the cage is occupied by the proprietary JJP driver and I/O board, revision 11. This specialized board handles absolutely everything related to operating the actual pinball machine � from switches and lighting to solenoids and magnets � and hooks up to the PC motherboard via dual USB jacks.
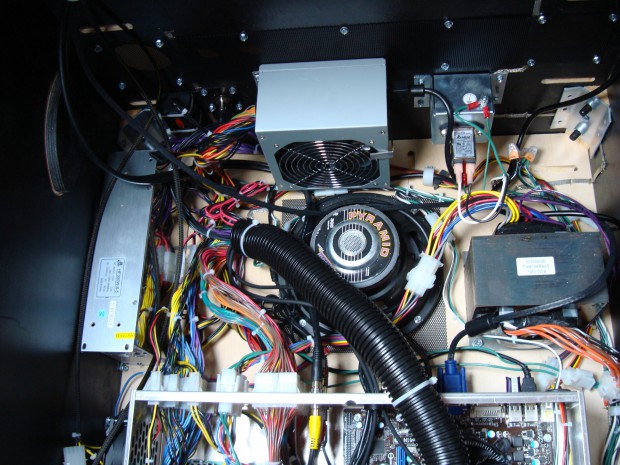
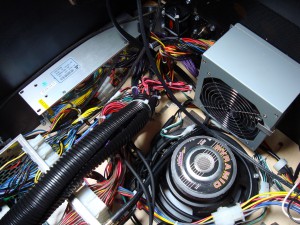
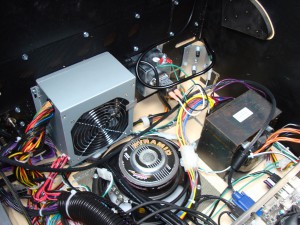
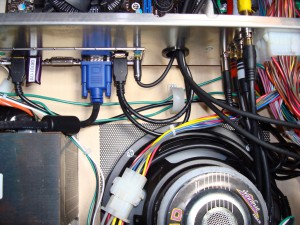
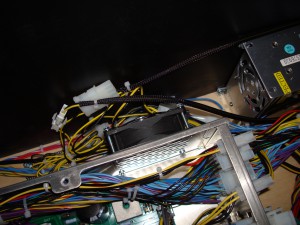
Cabinet RearCables and boxes and speakers, oh my! The back of the main cabinet is anything but empty, and in this space you�ll find no less than three separate power supplies: a dedicated 5 volt LED supply on the left, a standard ATX supply for PC components in the rear center, and the main power transformer for the pinball side of the game on the far right. Specific placement of the LED and ATX power supplies has varied during early production, as has the amperage of the LED supply (the one in my game is 60 amps / 300 watts). Dead center is the game�s woofer, in this case an 8" Pyramid driver that sounds better than you might imagine. Across the rear of the electronics cage are a large number of connectors, beginning with the ones built-in to the motherboard. Those utilized in the left-hand photo: the USB extension cable, a USB security key (keyed for this specific game), a VGA cable (alas the LCD monitor does not support DVI), two USB cables that feed back inside the cage (I�m a little surprised they didn�t opt to use an internal header) and, finally, 3.5mm stereo audio output. Next to the motherboard are various audio jacks used for the three amplified speaker lines, along with the rear audio jack. All those wires on the back of a pinball machine�s playfield have to lead somewhere, and for The Wizard of Oz, this is that �where�! The design idea here is that cables can be disconnected from the back of the cage for easy removal of playfield or electronics cage (or both), although if you look closely at a few of the earlier photographs, there are several cables feeding directly through grommeted holes, which will need to be disconnected from the inside. Located on the left side of the electronics cage right at the back is the sole 80mm exhaust fan. Once the cover has been installed, the solid metal box is actually rather scarce on ventilation � if you return to the photo of the end of the USB extension cable, you can see that the front of the cage has a fine perforation for air intake, but besides for that and this solitary fan, there are no other places for air to get in or out.
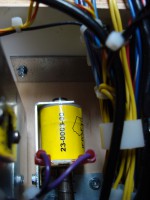
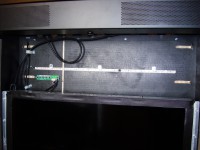
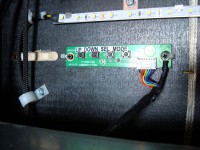
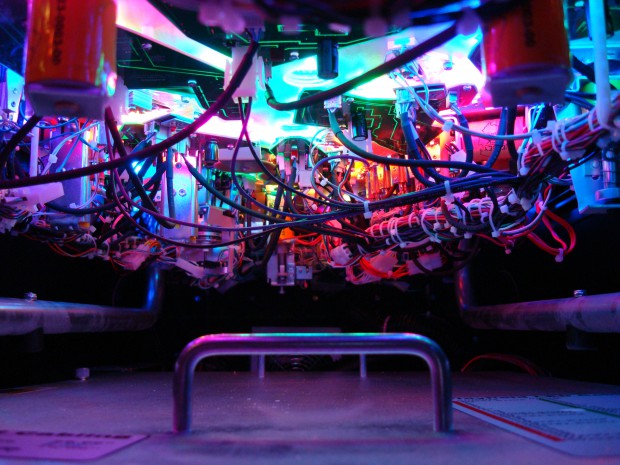
Backbox & MoreNo, we�re not done quite yet! I simply couldn�t forget about the one classic pinball item that hasn�t been seen on a new game in years: the knocker! The one in WOZ is aimed at a wooden cabinet brace, which means it won�t be as loud as one that fires on a side panel (read: gunshot), but there is a metal striking plate to give a somewhat more satisfying thwack. In comparison to the main cabinet and other modern pinballs in general, the backbox on WOZ is positively spartan inside � occupied only by the 26" Wells-Gardner industrial LCD (model WGF2679-SSAS25B), a pair of speakers in a soundbar-like design along the top, and few LED lights. The LCD includes a small external circuit board with buttons for adjustments, which JJP installed in an easy-to-access location just above the screen. Dead center in what area of the backbox isn�t occupied by the very large LCD is a single strip of white LEDs to illuminate the mirrored backglass, and feeding through a small hole in the top of the backbox is a cable for a second LED strip that illuminates the topper. Whew! I don�t know about you, but I think that�s more than enough for one day! I hope this quick look behind the curtain of JJP�s Wizard of Oz has been informative, and if you have any questions or special requests, please let me know. For now, I�ll leave you with one final tantalizing photograph of the bottom of the playfield in action... Recent Related Blog Posts
|
Tag Central
Archive
|
Pinplay Pinball Blog
� Be the first to add a comment!

